The Collage Kit User Guide
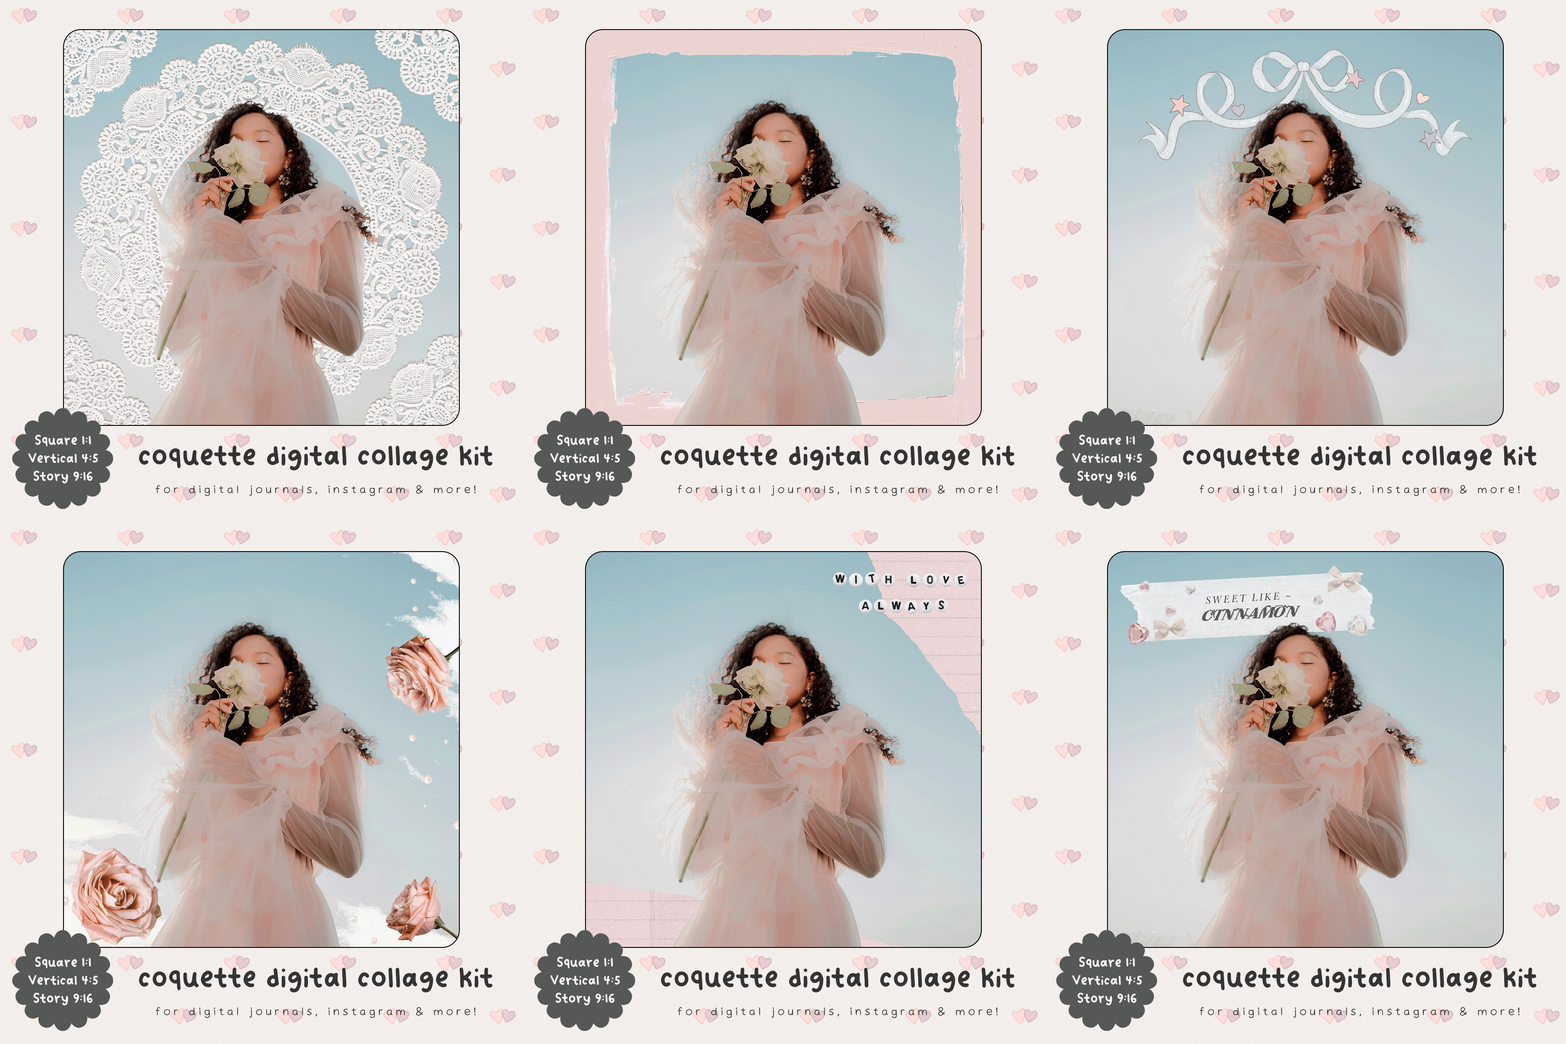
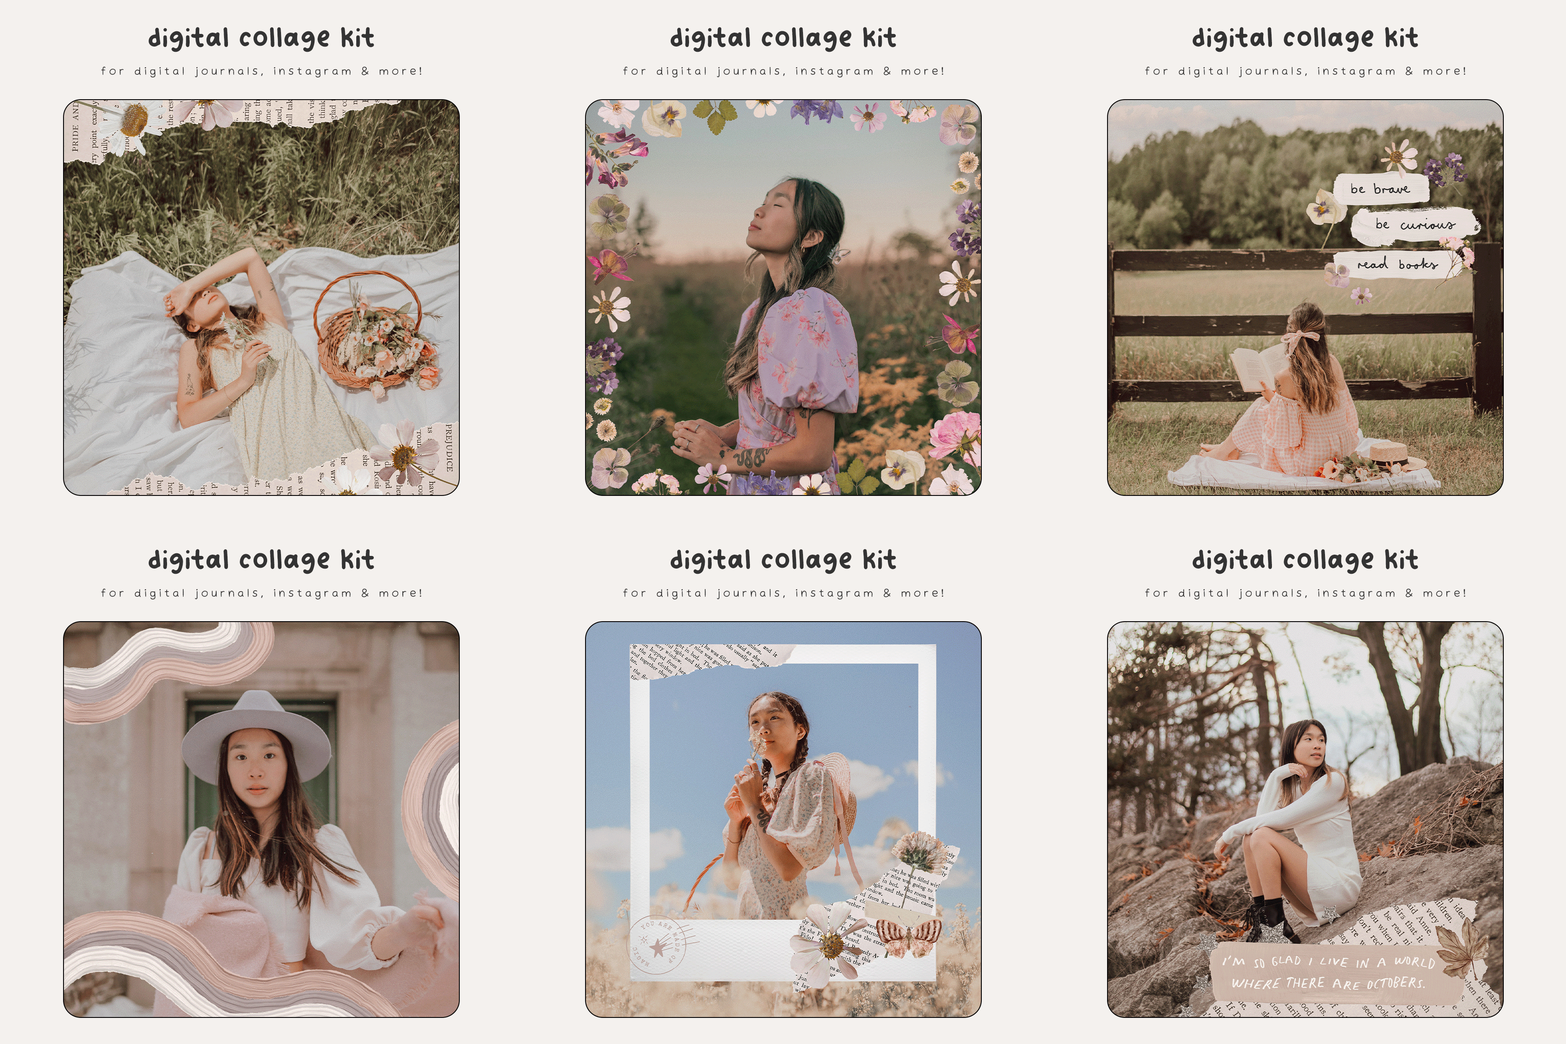
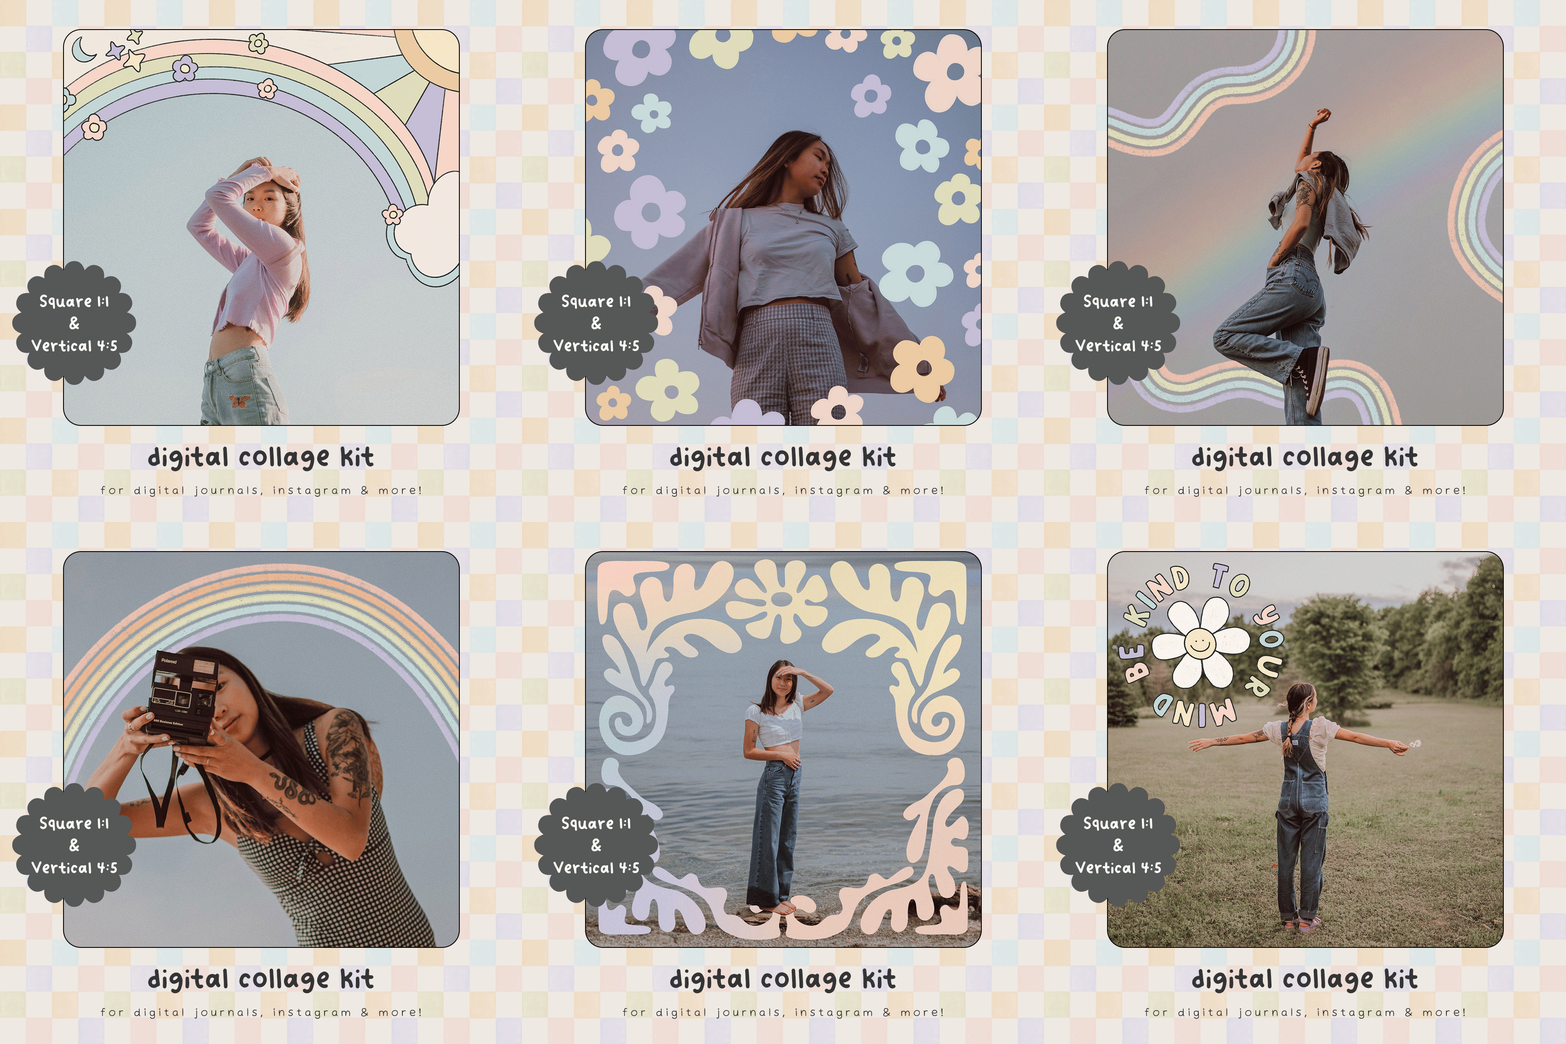
The She The Spy Digital Collage Kit is a set of transparent frames and sticker PNG files. Use our kit edit your photos in a unique way. Each kit contains frames to suit 1:1 & 5:4 ratio images that are sized for social media. Read our guide below on how to use the collage kit on your iPhone.
Downloading Your Files
After purchasing a collage kit, you will be re-directed to an order confirmation screen with an instant download link.
The download link will also be emailed you. You will receive two automated e-mails from our website. One will be your order confirmation e-mail, and the other will be an e-mail containing the instant download link/s to your new digital goodies! This download link expires in 24 hours, so make sure to download within this time frame. If your download link has expired, contact me here with your order number & I’ll send you a new link.
Open the digital download e-mail on your iPad and tap the download link. Your download may open in Safari. Select Save to Files.
Our icon sets are delivered as a ZIP file containing three sub-folders with everything you need.
In your ‘Files’ app, tap on any zip files to uncompress them.
Choose to save in your camera roll, dropbox/drive or keep in files.
What Is Included In The Kit?
In each Collage Kit, you’ll find transparent PNG files:
Suitable for square social media posts 1:1
Suitable for vertical social media posts 5:4
Collage Kit & Editing Apps
The collage kit contains transparent files suitable for overlaying on your own images. Simply download them to your device, and import the stickers into any editing app that supports layers and/or masking.
Recommended free editing apps: Picsart, Canva, & Photoshop Express.
Paid applications: Procreate, Photoshop CC.
Editing with Picsart
Note: You do not need to pay for Picsart to follow these instructions. Make sure to skip the payment screen & continue to use for free.
Open Picsart and import the photo you want to edit.
Scroll to the right on the menu at the bottom of the screen until you find the “Add Photo” icon and tap on it.
Select a collage kit sticker to add on top of your image. Then, tap ‘Add’.
Resize the sticker by dragging the directional arrows at the corners. Then, tap ‘Apply’.
Tap the Save icon in the top menu bar to export to your camera roll.
Optional: If you want to further adjust your edit, you can use the Erase tool.
After resizing the sticker, select the sticker by tapping it.
Select the erase tool in the top menu bar.
Brush over any areas you wish to remove.
Tap the tick symbol when you are happy with the result.
Creating an Overlay Shortcut
Alternatively, the iPhone shortcuts app allows you to create your own custom action to overlay images with just one tap.
Setting up this shortcut is the most tricky part. But once done, you don’t need to set it up again and you can overlay your images super quickly.
I recommend this guide to set up the overlay action: Tomsguide (How To Overlay Images on iPhone)


